
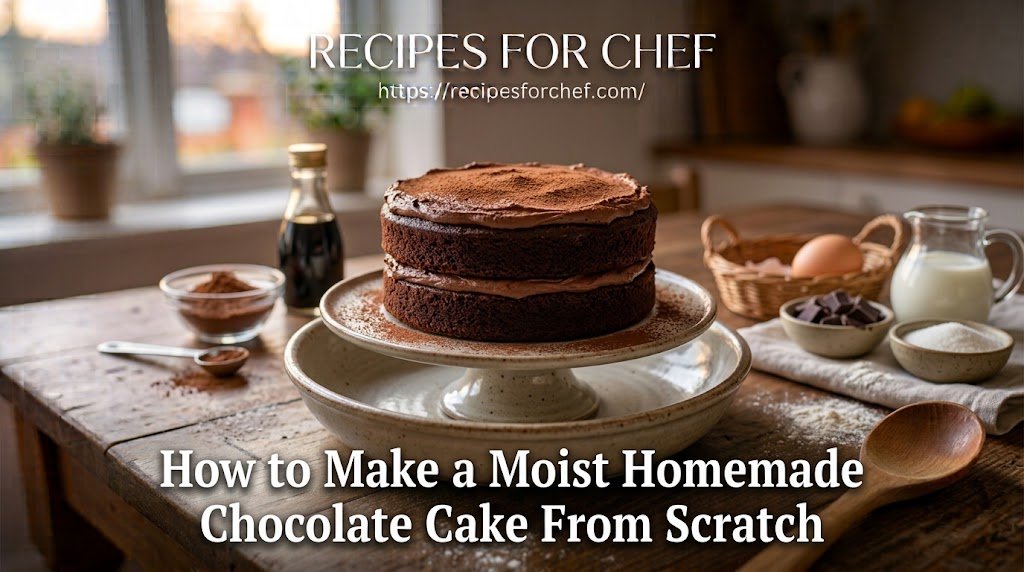
Baking a chocolate cake from scratch often comes with an unexpected gamble: will it turn out rich and tender, or will it end up dry, spongy, and disappointing?
A truly moist chocolate cake doesn’t rely on luck or expensive bakery ingredients. Instead, it relies on simple chemical reactions between fat, liquid, acidity, and protein. Many standard recipes lean heavily on butter alone, which yields great flavor but can leave a cake feeling firm or crumbly at room temperature.
In this guide, you will learn how to bake a deeply chocolatey, remarkably tender cake using a balanced fat method, hot liquid activation, and proper mixing techniques. Whether you are baking for a weekend family dinner or a birthday celebration, this step-by-step approach gives you full control over texture, flavor, and moisture.
Why This Recipe Works
Great chocolate cake relies on three technical elements to stay moist while delivering intense cocoa flavor:
-
Oil and Butter Combination: Vegetable oil remains liquid at room temperature, which gives the cake crumb a soft, melt-in-your-mouth feel that lasts for days. Melted unsalted butter adds the rich, classic flavor that oil alone lacks. Combining both gives you the best of both worlds.
-
Hot Coffee Activation: Cocoa powder contains natural flavor compounds that release more intensely when exposed to hot liquid. Stirring hot brewed coffee (or boiling water) into the batter melts the cocoa fats and dissolves the powder completely, blooming the chocolate flavor without adding a distinct coffee taste.
-
Buttermilk for Tenderness: The natural acid in buttermilk breaks down gluten strands in the wheat flour, keeping the crumb tender rather than bread-like. It also reacts with baking soda to create carbon dioxide bubbles, helping the heavy batter rise into a light, soft structure.
Recipe Overview
-
Prep Time: 20 minutes
-
Baking Time: 30–35 minutes
-
Total Time: 55 minutes (plus cooling)
-
Yield: 1 two-layer 8-inch round cake (10–12 servings)
Ingredients
To achieve the right balance of structure, moisture, and flavor, weigh your dry ingredients with a digital kitchen scale whenever possible. If using measuring cups, spoon the flour into the cup and level it off with a knife to avoid packing in extra flour.
+-----------------------------------------------------------------------+
| DRY INGREDIENTS                                                       |
+-----------------------------------------------------------------------+
| All-Purpose Flour      | 2 cups (240g)                                |
| Granulated Sugar       | 1 3/4 cups (350g)                            |
| Unsweetened Cocoa      | 3/4 cup (75g) natural or Dutch-processed    |
| Baking Powder          | 1 1/2 teaspoons                              |
| Baking Soda            | 1 1/2 teaspoons                              |
| Fine Sea Salt          | 1 teaspoon                                   |
+-----------------------------------------------------------------------+
| WET INGREDIENTS                                                       |
+-----------------------------------------------------------------------+
| Large Eggs             | 2 (room temperature)                         |
| Buttermilk             | 1 cup (240ml), room temperature              |
| Vegetable Oil          | 1/2 cup (120ml) canola or neutral oil        |
| Unsalted Butter        | 1/4 cup (60ml), melted and slightly cooled   |
| Pure Vanilla Extract   | 2 teaspoons                                  |
| Hot Brewed Coffee      | 1 cup (240ml) or boiling water               |
+-----------------------------------------------------------------------+
Equipment Needed
-
Two 8-inch round cake pans (at least 2 inches deep)
-
Parchment paper
-
Large mixing bowl and medium mixing bowl
-
Whisk and silicone spatula
-
Measuring cups and spoons (or a digital food scale)
-
Wire cooling racks
Step-by-Step Method
Step 1: Prep the Oven and Pans
Preheat your oven to 350°F (175°C) with the rack positioned in the center. Lightly grease the bottom and sides of two 8-inch round cake pans with butter or cooking spray. Dust the insides with a tablespoon of cocoa powder, shaking out any excess. Line the bottom of each pan with a round piece of parchment paper.
Chef’s Tip: Dusting your pans with cocoa powder instead of flour prevents white, chalky residue from forming on the outer crust of your chocolate cake layers.
Step 2: Combine the Dry Ingredients
Sift the all-purpose flour, sugar, unsweetened cocoa powder, baking powder, baking soda, and salt directly into a large mixing bowl. Whisk for 30 to 45 seconds until the mixture is uniform in color with no visible lumps of cocoa or baking soda. Sifting is crucial here because cocoa powder tends to clump in storage.
Step 3: Whisk the Wet Ingredients (Except Hot Coffee)
In a separate medium bowl, whisk together the room-temperature eggs, buttermilk, vegetable oil, melted butter, and vanilla extract until smooth and fully emulsified. Ensure the melted butter isn’t hot to the touch so it doesn’t cook the eggs.
Step 4: Combine Wet and Dry Mixtures
Pour the wet ingredient mixture into the bowl with the dry ingredients. Whisk slowly by hand just until combined. The batter will look thick, dark, and somewhat heavy at this point. Avoid over-mixing; stopping as soon as the flour pockets disappear prevents excess gluten development.
Step 5: Bloom the Cocoa with Hot Coffee
Gradually pour the hot brewed coffee (or boiling water) into the thick batter, whisking gently as you pour.
Do not panic if the batter looks unusually thin or watery—this is completely normal for this recipe. The thin consistency allows steam to generate quickly in the oven, giving the cake its soft, moist texture. Use a silicone spatula to scrape the bottom and sides of the bowl to make sure no dry flour pockets remain stuck at the bottom.
[Image suggestion: Pouring hot liquid into the chocolate batter, showing a smooth, thin consistency.]
Step 6: Portion and Bake
Divide the thin batter evenly between your prepared cake pans (roughly 550 grams of batter per pan if using a scale).
Place the pans on the center oven rack, leaving an inch of space between them for proper airflow. Bake at 350°F (175°C) for 30 to 35 minutes.
Step 7: Test for Doneness
Because this cake is high in moisture, relying solely on visual cues can be tricky. Test for doneness starting at the 30-minute mark:
-
Insert a wooden toothpick into the center of the cake layer. It should come out with a few moist crumbs attached, but no wet, liquid batter.
-
Gently press the center of the cake with your fingertip. It should spring back slightly rather than leave a deep indentation.
-
The edges of the cake will just begin to pull away slightly from the sides of the pan.
Step 8: Cool Correctly
Set the cake pans on a wire cooling rack for 15 to 20 minutes. Run a thin butter knife around the inside edges of the pans to loosen the crust. Invert each pan onto the wire rack, peel off the parchment paper lining, and turn the layers right-side up. Allow the cakes to cool completely (about 1 to 2 hours) before applying frostings or glazes.
Important Tips for Better Results
-
Use Room Temperature Ingredients: Cold eggs and buttermilk right out of the fridge will cause the melted butter to solidify into small specks, resulting in an uneven batter. Set your dairy items on the counter 30 to 45 minutes before baking.
-
Don’t Skip the Parchment Paper: Moist cakes tend to stick to the bottom of baking pans even when greased well. Parchment paper guarantees a clean release every single time.
-
Cool Completely Before Frosting: Applying buttercream or chocolate ganache to a warm cake will cause the frosting to melt, slide off, and create a messy presentation.
Common Mistakes and How to Avoid Them
1. The Cake Turned Out Dry
-
Cause: Over-measuring the flour or over-baking the cake.
-
Fix: Always measure flour using the spoon-and-level method or a scale. Start checking for doneness 5 minutes before the recipe’s maximum baking time.
2. The Center Sank in the Middle
-
Cause: Opening the oven door too early, or using expired baking soda/baking powder.
-
Fix: Avoid opening the oven door during the first 25 minutes of baking, as sudden drafts cause rising air pockets to collapse. Check your leavening agents’ expiration dates regularly.
3. The Texture is Tough or Gummy
-
Cause: Over-mixing the batter after adding the liquid.
-
Fix: Mix wet and dry ingredients just until they come together. Once flour meets liquid, over-whisking develops gluten, turning tender cakes rubbery.
Substitutions and Variations
| Ingredient | Substitution / Modification | Impact on Final Result |
| Buttermilk | 1 cup whole milk + 1 tbsp lemon juice or white vinegar (rest 5 min) | Slightly less rich, but provides necessary acid for rise. |
| Hot Coffee | 1 cup boiling water + 1 tsp instant espresso powder (or plain boiling water) | Plain water works well, though coffee yields a deeper chocolate profile. |
| Vegetable Oil | Light olive oil, avocado oil, or melted coconut oil | Neutral oils preserve original flavor; coconut oil adds a subtle aroma. |
Storage and Reheating
-
Room Temperature: Store unfrosted or frosted cake layers in an airtight cake dome at room temperature for up to 4 days. The oil content helps it maintain moisture without refrigeration.
-
Refrigeration: If your cake is frosted with perishable fillings (like cream cheese or fresh fruit), keep it refrigerated. Bring individual slices to room temperature 30 minutes before serving for the softest texture.
-
Freezing: Wrap un-frosted, fully cooled cake layers tightly in two layers of plastic wrap followed by aluminum foil. Freeze for up to 3 months. Thaw overnight in the refrigerator while still wrapped.
Frequently Asked Questions
Why do you add hot liquid to chocolate cake batter?
Hot liquid dissolves cocoa powder fully and melts its natural fats. This process, called “blooming,” amplifies the chocolate flavor and removes any grainy texture from raw cocoa powder.
Can I make this cake without coffee?
Yes. You can replace the hot brewed coffee with plain boiling water or hot milk. The coffee doesn’t make the cake taste like mocha—it simply heightens the cocoa’s natural flavor—but hot water is a fine alternative.
Why did my cake stick to the pan even though I greased it?
High-moisture batters contain sugar that caramelizes against hot metal pans. If you don’t use a parchment paper round at the bottom, the cake crust can bind to the metal surface as it cools.
Can I bake this batter in a 9×13-inch pan?
Yes. Pour the entire batter into a greased and lined 9×13-inch rectangular baking pan. Increase the baking time slightly to 35–42 minutes, testing the center with a toothpick for doneness.
Can I use Dutch-processed cocoa powder instead of natural cocoa powder?
Yes. Because this recipe contains both baking powder (which works independently) and baking soda paired with acid from buttermilk, it accommodates both natural and Dutch-processed cocoa powder cleanly.
Final Thoughts
Baking a wonderfully moist chocolate cake at home comes down to understanding how basic ingredients work together. By combining oil for soft structure, butter for rich flavor, buttermilk for tenderness, and hot coffee to bloom the cocoa, you get a reliable recipe that delivers great results every time. Take your time prepping your pans, measure your flour accurately, and let the layers cool completely before adding your favorite frosting.