
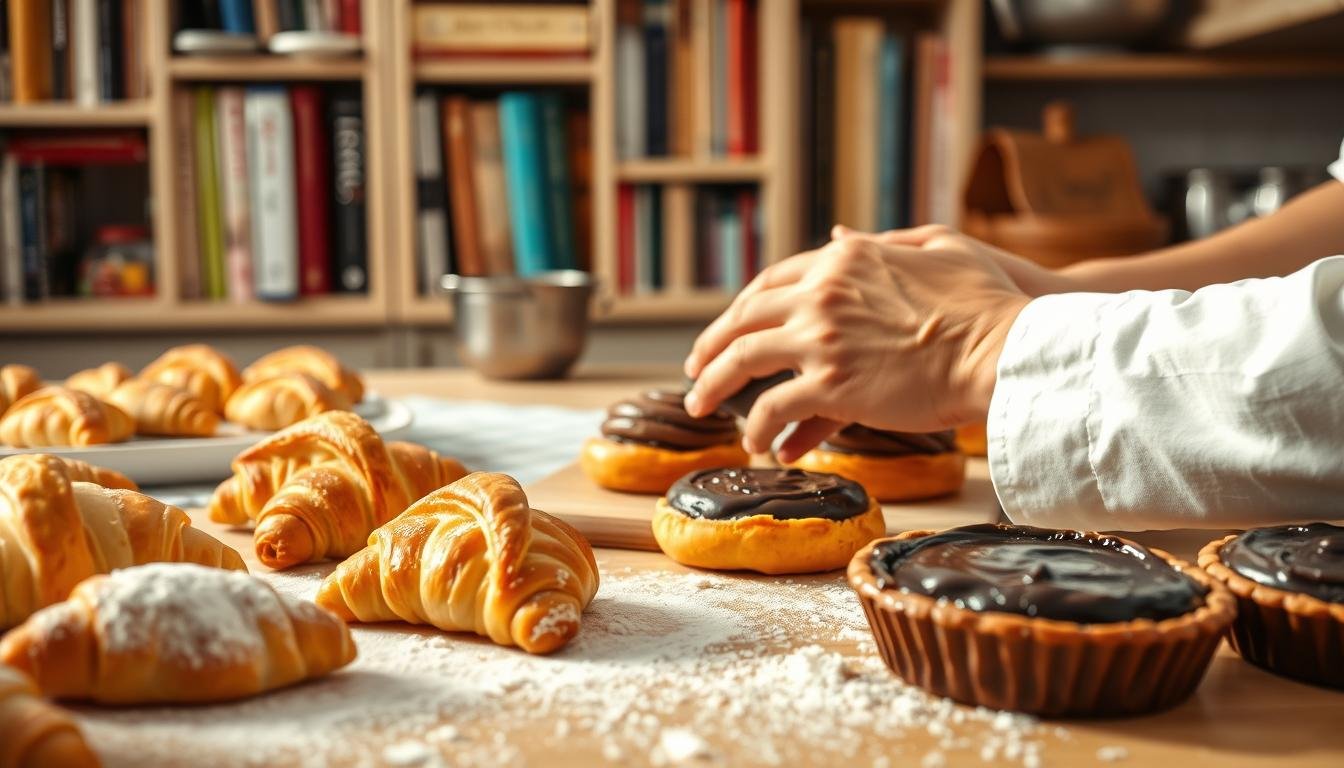
Remember the first time you bit into a perfectly flaky croissant or savored a buttery fruit tart? That magical combination of crisp layers and tender crumb isn’t just for professional bakers. With the right guidance, you can recreate those showstopping textures right in your kitchen.
This guide unlocks five foundational methods that form the backbone of exceptional Pastry Recipes. Whether you’re crafting holiday pies or experimenting with savory appetizers, mastering these techniques gives you complete control over your culinary creations. You’ll move beyond store-bought shortcuts while learning when they can save time without sacrificing quality.
We’ve designed this resource to help you avoid common pitfalls like soggy bottoms or tough dough. Detailed temperature charts and chilling timelines take the guesswork out of baking science. Discover why cold butter creates flakiness, how gluten development affects texture, and which dough works best for different fillings.
Key Takeaways
- Five core techniques cover everything from quick puff pastry hacks to traditional shortcrust mastery
- Temperature control and timing charts ensure consistent results
- Learn professional finishing touches like blind baking and golden egg washes
- Adapt base recipes for sweet and savory applications
- Troubleshoot common issues with science-backed solutions
What makes these methods truly transformative? They’re designed for real-life kitchens, not pastry school labs. You’ll gain the confidence to improvise while understanding exactly why each step matters. Soon, you’ll be layering flavors and textures like a seasoned patissier – no culinary degree required.
Getting Started with Pastry Recipes
Great results begin with the right foundation. Your kitchen setup and ingredient prep directly impact texture and flavor. Let’s explore the tools and techniques that transform basic components into bakery-quality creations.
Essential Tools and Ingredients
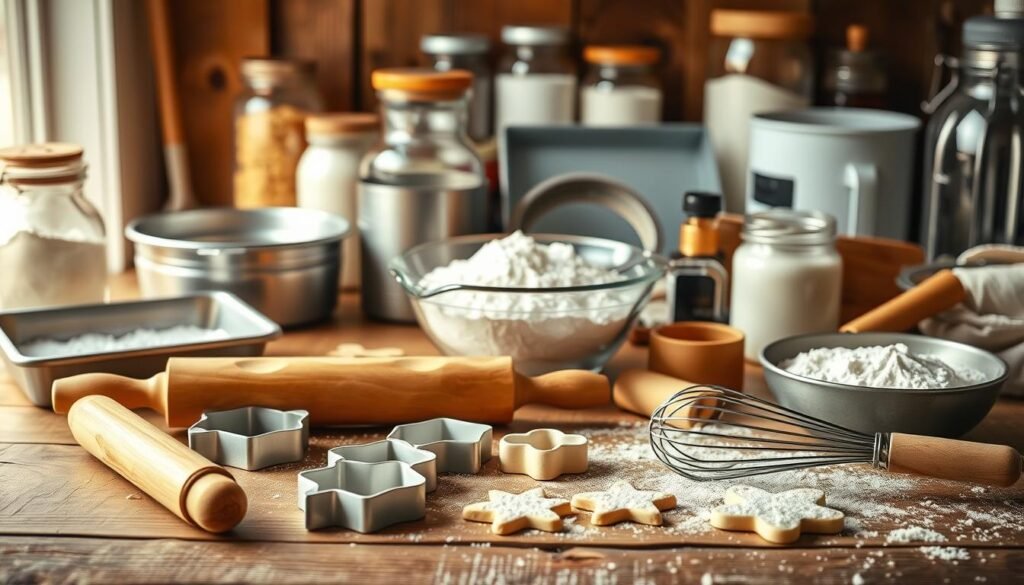
Your toolkit needs more than just a bowl and spoon. A food processor cuts cold butter into flour quickly, while an electric mixer ensures smooth fillings. Parchment paper prevents sticking, and a rolling pin with measurement markings guarantees even thickness.
Full-fat cream cheese creates velvety fillings that hold their shape. Granulated sugar balances tanginess without overpowering, while fresh lemon juice adds brightness and prevents discoloration. Always use cold water – it keeps fat particles intact for flaky layers.
Understanding Dough Fundamentals
Temperature dictates success. Cold butter creates steam pockets during baking, lifting delicate layers. Chill your tools if the kitchen feels warm – even a cool countertop helps maintain ideal dough conditions.
Measure flour correctly: spoon it into cups and level with a knife. Overpacking leads to dense results. Salt isn’t just for flavor – it tightens gluten networks, making dough easier to handle. Let fillings reach room temperature for seamless blending.
With these essentials mastered, you’re ready to tackle techniques that elevate homemade creations. Proper preparation turns complex-looking desserts into achievable weekend projects.
The Secret Behind Perfect Puff Pastry
Ever wonder why bakery puff pastry has those impossibly light layers? The answer lies in precise temperature management and smart ingredient choices. Whether using store-bought sheets or crafting from scratch, understanding these principles transforms your results.
Store-Bought vs. Homemade Puff Pastry
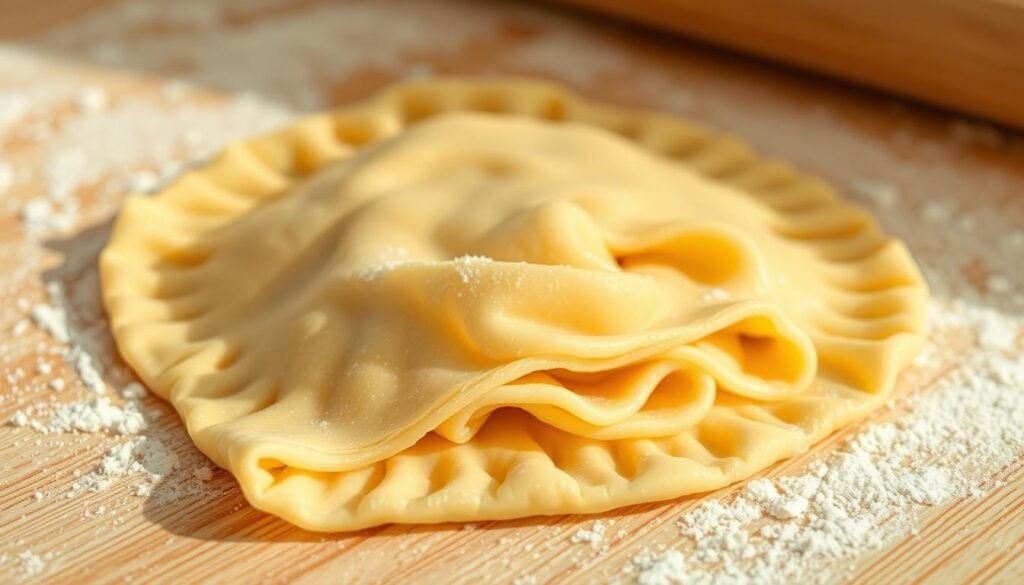
Frozen puff pastry saves time – thaw it for 30 minutes at room temperature or use a microwave trick. Wrap sheets in paper towels and heat 15 seconds per side. This convenience comes at a cost: most commercial versions use vegetable shortening instead of butter.
Creating homemade puff pastry dough gives you complete flavor control. The process takes practice but rewards you with rich, buttery flakes. Freshly made dough lasts 2-3 days chilled or up to a month in the freezer when sealed tightly.
Keeping Your Dough Properly Chilled
Cold butter creates steam pockets that lift layers during baking. If your kitchen feels warm, chill mixing bowls and rolling pins first. Always refrigerate assembled creations for 20-30 minutes before baking – this prevents spreading and preserves intricate shapes.
Work quickly when handling homemade dough. If butter starts softening, return everything to the freezer for 5-minute intervals. Remember: patience with temperature yields those signature crisp, golden textures that make puff pastry irresistible.
Mastering Cream Cheese Puff Pastry
What separates good cream cheese creations from unforgettable ones? The secret lies in balancing tangy richness with airy layers.
Step-by-Step Cream Cheese Filling Process
| Ingredient | Quantity | Mixing Time |
|---|---|---|
| Cream cheese | 8 oz | Beat 2 minutes |
| Granulated sugar | ¼ cup | Combine thoroughly |
| Egg yolk + flavorings | 1 each | Mix until smooth |
| Baking temp/time | 375°F | 15-20 minutes |
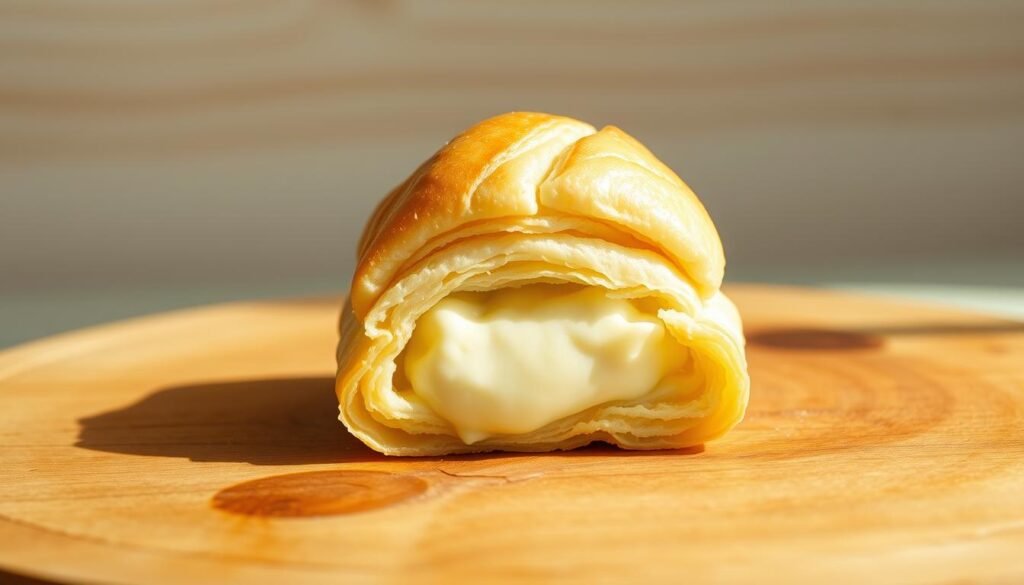
Start with room-temperature cream cheese for lump-free blending. Use an electric mixer on medium speed – undermixing causes graininess, while overbeating incorporates too much air. Chill the filling 10 minutes before assembling to prevent soggy bases.
Tasty Variations and Topping Ideas
Transform your base recipe with these crowd-pleasing additions:
- Fresh berries: Press 3-4 raspberries into each portion before baking
- Swirl toppings: Dollop jam or Nutella using a toothpick technique
- Citrus zest: Add orange or lime peel to the filling mixture
Always bake pastries on the middle oven rack for even browning. Let cool 5 minutes before serving – this allows the cream cheese layer to set properly. For holiday twists, sprinkle crushed peppermint or drizzle caramel post-bake.
Exploring Homemade Puff Pastry Techniques
Ever struggled with traditional puff pastry methods? Modern kitchen tools unlock faster paths to golden, layered results. The food processor becomes your secret weapon here, transforming hours of labor into 15-minute prep sessions.
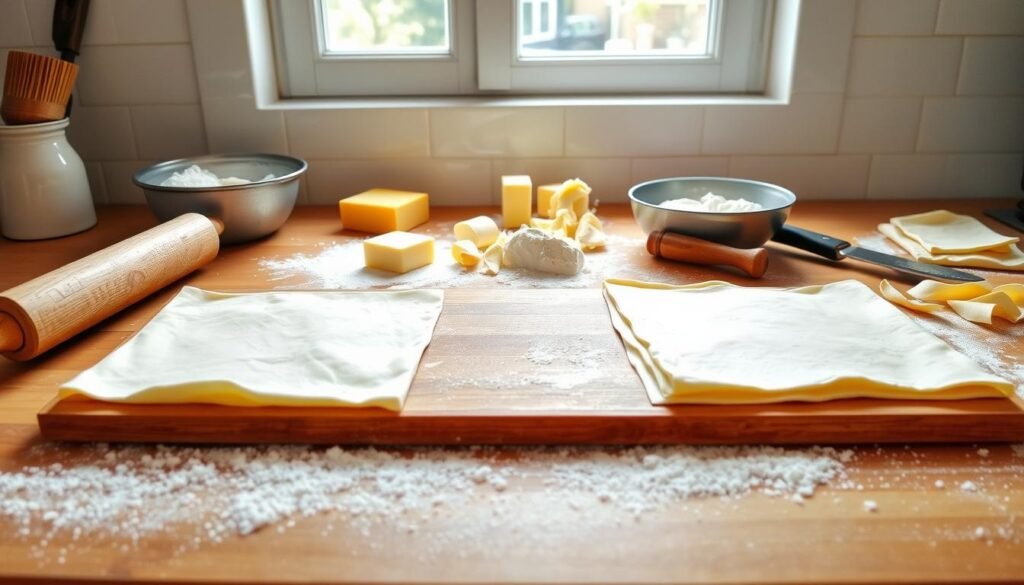
Quick Food Processor Method
Start by cubing 1¼ cups of ice-cold salted butter. Pulse 2 cups flour with ¾ cup butter for 10-12 bursts – just until crumbs form. Add remaining butter and pulse 2-3 times to create uneven chunks. This creates the foundation for flaky layers.
Pour ½ cup icy water through the feed tube while pulsing 4-5 times. Stop immediately when the dough balls together. Overworking creates tough results. Roll the mixture into a 12×18″ rectangle on a floured surface using firm, even strokes.
Fold the rectangle like a letter: bring both ends to meet at the center, then fold again. Rotate 90 degrees and repeat. This envelope technique builds 8 distinct butter layers. Chill wrapped dough 1-2 hours before final shaping – this rest period prevents melted butter from ruining your layers.
Why does this method work? The food processor maintains consistent butter size while minimizing handling time. You’ll get 1½ pounds of versatile dough ready for sweet or savory applications. Freeze extras up to a month for impromptu baking sessions.
Classic Shortcrust Pastry for Pie Perfection
The foundation of every memorable pie lies in its crust. Shortcrust dough balances tenderness with structure, supporting everything from juicy fruit fillings to rich pecan mixtures. Let’s break down the techniques that guarantee crisp results every time.
Mastering the Flaky Foundation
Start with 115g ice-cold unsalted butter cubed smaller than dice. Pulse with flour until pieces resemble chickpeas – these uneven chunks create steam pockets during baking. Add ice water one tablespoon at a time until crumbs clump when squeezed.
Roll dough 10cm wider than your pie dish on a floured surface. Lift it using your rolling pin to prevent stretching – stretched dough shrinks during baking. Tuck excess neatly into the dish’s edges, leaving enough for decorative finishes.
Crisp Bases & Picture-Perfect Edges
| Blind Baking Stage | Temperature | Duration |
|---|---|---|
| Weighted | 390°F | 15 minutes |
| Uncovered | 390°F | 5 minutes |
Line chilled crust with parchment and fill with dried beans or ceramic weights. This prevents bubbles in pecan pie bases. After initial baking, remove weights and prick the base with a fork to stop rising.
Crimp edges by pressing thumb and forefinger together at 2cm intervals. For extra security on juicy fillings, brush the rim with egg wash before adding toppings. Thicker borders withstand long bakes better than thin ones.
Pastry Recipes: Sweet and Savory Inspirations
Transform your kitchen into a bakery-case showcase with these crowd-pleasing twists. Whether craving something sugary or needing hearty appetizers, the right combinations turn basic dough into memorable dishes.
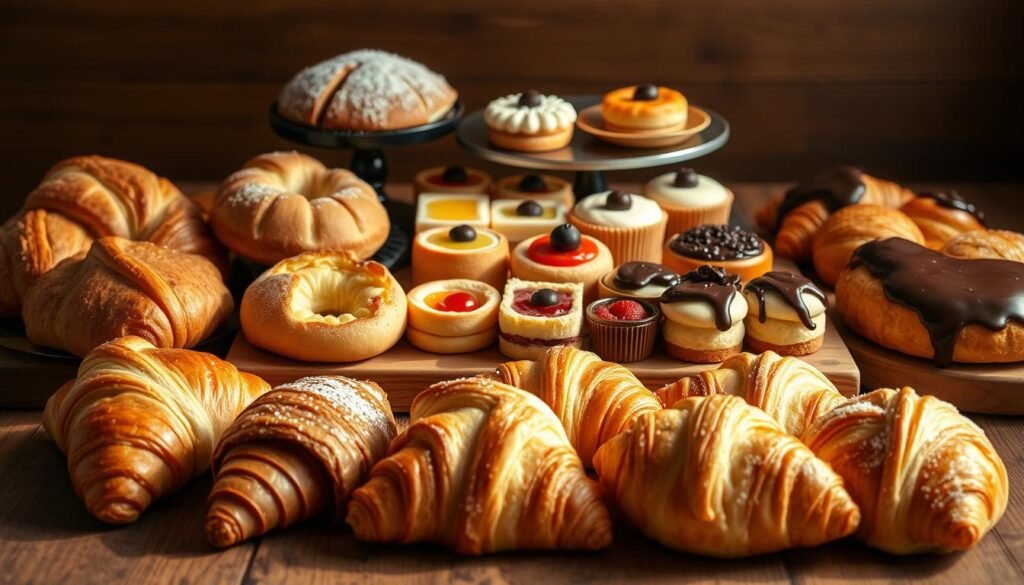
Dessert Innovations
Combine sliced pears with dark chocolate chips and crushed walnuts for elegant crescents. Mix 3 tablespoons brown sugar with cinnamon for apple fillings that caramelize beautifully. Cream cheese bases adapt effortlessly – try raspberries in summer or spiced peaches during colder months.
Small berries work best for structural integrity. Dust finished treats with powdered sugar or drizzle vanilla glaze for professional polish. These desserts balance textures perfectly: crisp layers against juicy fillings.
Savory Showstoppers
Roll thin ham slices with Gruyère into spirals before baking – ideal for brunch spreads. For cheese lovers, twist two types of shredded cheese into puff dough strips. Add rosemary or thyme for aromatic depth.
| Savory Option | Cheese Pairing | Baking Time |
|---|---|---|
| Ham Spirals | Gruyère + Mozzarella | 18-22 mins |
| Cheese Twists | Parmesan + Fontina | 12-15 mins |
| Meat Pies | Cheddar (lid) | 25-30 mins |
Shortcrust forms the base for meat pies – top with puff dough lids for contrasting textures. Brush edges with egg wash to seal fillings securely. Serve warm with chutney or mustard for dipping.
Tips & Tricks for Pastry Success
Unlock the secrets to bakery-quality creations with these essential guidelines. Consistent results come from understanding how heat, timing, and technique interact. Follow these principles to avoid common errors and elevate every batch.
Do’s and Don’ts in Pastry Making
Temperature control makes or breaks your efforts. Always preheat your oven to at least 375°F before baking – cold starts lead to uneven rises. Use an oven thermometer for accuracy, as dial settings often lie.
Resist overstuffing fillings. Leave ½” borders when adding creamy or juicy ingredients to prevent leaks. For decorative scoring, cut halfway through the dough – deep enough to guide expansion without weakening structures.
Apply egg wash right before baking for maximum shine. Brushing too early causes soggy spots. Chill shaped items for 15 minutes post-assembly to maintain crisp edges during cooking.
Store cooled items in airtight containers for up to 48 hours. Reheat at 350°F for 5-8 minutes to restore texture. Freeze unbaked dough portions for last-minute projects – they’ll stay fresh for 3 months.