
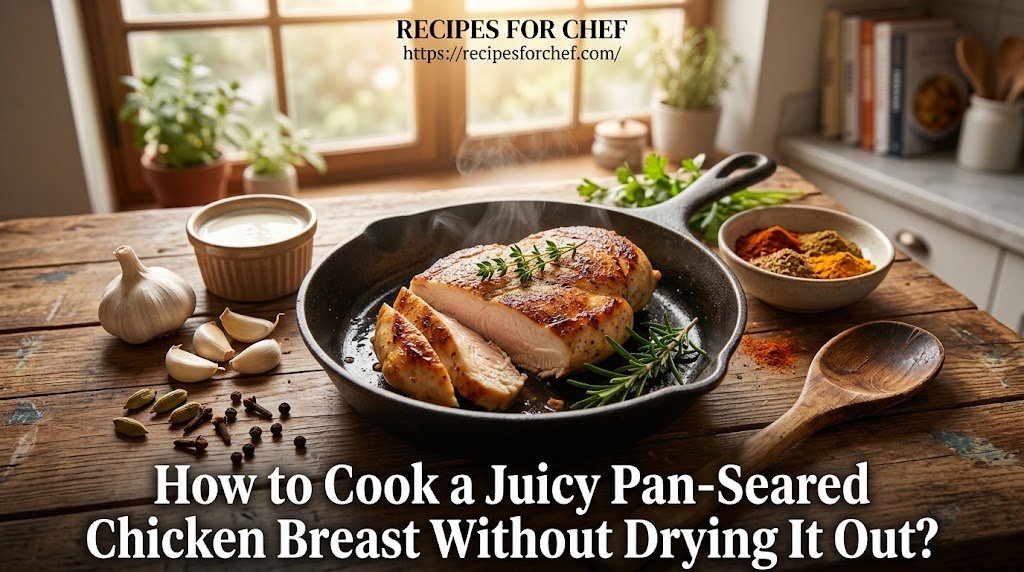
Chicken breast has a reputation for becoming dry in the pan, but the problem is usually not the chicken itself. Uneven thickness, excessive heat, overcrowding, and cooking for too long can all remove the moisture that makes a chicken breast pleasant to eat.
A good pan-seared chicken breast is simpler than it sounds. The outside should develop a golden-brown crust while the inside stays tender and juicy. The trick is to control the thickness of the chicken, manage the heat, and stop cooking when the thickest part reaches a safe temperature rather than relying only on a clock.
This method is designed for ordinary home kitchens. You do not need a complicated marinade or special equipment. A heavy skillet, a little oil, basic seasoning, and a food thermometer are enough to make a reliable chicken dinner.
Why Chicken Breast Dries Out
Chicken breast is relatively lean, so it has less fat to protect it from prolonged cooking than darker cuts such as chicken thighs.
The biggest mistake is often cooking a thick chicken breast over high heat from start to finish. The outside can become deeply browned while the centre is still undercooked. By the time the middle reaches a safe temperature, the outer layers may have spent too long over the heat.
Uneven thickness creates the same problem. A thin end may already be dry while the thickest section is still cooking.
That is why preparing the chicken before it reaches the skillet matters just as much as what happens during cooking.
The goal is to create an even piece of meat that cooks at a predictable rate.
Recipe Overview
Preparation time: 10 minutes
Cooking time: About 12–18 minutes, depending on thickness
Total time: About 25–30 minutes
Servings: 4 chicken breasts
The cooking time is an estimate rather than a guarantee. Chicken breasts vary considerably in size and thickness, so internal temperature is a better guide than the clock.
Ingredients
- 4 boneless, skinless chicken breasts, about 170–225 g each
- 1 tablespoon olive oil
- 1 teaspoon kosher salt or about ¾ teaspoon fine salt
- ½ teaspoon freshly ground black pepper
- 1 teaspoon paprika
- ½ teaspoon garlic powder
- ½ teaspoon dried Italian seasoning
- 1 tablespoon unsalted butter
- 1 teaspoon fresh lemon juice, optional
- 1 tablespoon chopped fresh parsley, optional
The seasoning can be changed according to what you are serving with the chicken. The important part is not using so much seasoning that it burns before the chicken has finished cooking.
Equipment
You will need:
- A large heavy skillet, preferably cast iron or stainless steel
- Tongs
- A cutting board
- A sharp knife
- Paper towels
- A meat thermometer
A heavy skillet is helpful because it holds heat well when the chicken is added. A large pan also gives the chicken enough space to brown instead of releasing moisture into a crowded surface.
Prepare the Chicken Before Heating the Pan
Start by removing the chicken from its packaging and patting it dry with paper towels.
This is an easy step to overlook, but surface moisture makes browning more difficult. A dry surface can make better contact with the hot pan, allowing the chicken to develop a more appealing golden crust.
Look at the thickest part of each breast. If one end is much thicker than the other, the chicken will not cook evenly.
You have two useful options.
The first is to place the chicken between two sheets of plastic wrap or parchment and gently pound the thickest area with a meat mallet until the breast has a more even thickness.
The second is to butterfly a very thick breast by carefully slicing it horizontally almost all the way through and opening it like a book.
You do not need to make every breast exactly identical. The purpose is simply to reduce large differences in thickness.
[Image suggestion: Raw chicken breasts showing how uneven thickness can affect pan cooking]
Seasoning the Chicken
Mix the salt, black pepper, paprika, garlic powder, and Italian seasoning in a small bowl.
Season both sides of the chicken evenly.
There is no need to bury the chicken under a thick layer of seasoning. A moderate coating allows the natural flavour of the chicken and the browned crust to remain noticeable.
If you have time, let the seasoned chicken sit for around 10 to 15 minutes while you prepare the pan and other ingredients. If you are cooking immediately, that is also fine.
Do not leave raw chicken sitting at room temperature for an extended period.
Heat the Pan Correctly
Place the skillet over medium to medium-high heat.
Add the olive oil and give it a moment to heat. The oil should look fluid and slightly shimmer across the surface, but it should not be smoking heavily.
This is an important balance.
A pan that is not hot enough may allow the chicken to stick and release moisture without developing much colour.
A pan that is excessively hot can burn the spices and outside of the chicken before the centre has had time to cook.
You are aiming for steady, controlled heat rather than maximum heat.
How to Pan-Sear the Chicken
Place the chicken breasts into the hot skillet, leaving space between them.
You should hear a clear but controlled sizzle when the chicken touches the pan. If there is no sound at all, the pan may not be hot enough. If the oil immediately smokes heavily, reduce the heat.
Let the chicken cook without constantly moving it.
This is where patience helps. If you repeatedly lift, slide, or turn the chicken, you can interfere with the browning process.
Cook the first side until it develops a golden-brown crust. Depending on the thickness, this may take around 4 to 6 minutes.
Turn the chicken with tongs.
Add the butter to the pan and let it melt around the chicken. As it foams, you can carefully spoon some of the butter over the top of the chicken.
Continue cooking over medium or medium-low heat.
The second side may cook faster, particularly if the chicken has already absorbed significant heat from the first side.
[Image suggestion: Chicken breast developing a golden-brown crust in a skillet]
The Most Important Step: Check the Internal Temperature
The safest way to know when chicken is cooked is to check its internal temperature with a food thermometer.
The USDA recommends cooking poultry to a minimum internal temperature of 165°F (73.9°C), measured with a food thermometer.
Insert the thermometer into the thickest part of the chicken. If the breast is unusually thick, check more than one area.
Do not judge doneness only by the outside colour. A beautifully browned chicken breast can still be undercooked in the centre, while a pale-looking breast can already be fully cooked.
Once the chicken reaches the recommended safe temperature, transfer it to a clean plate.
Why Resting the Chicken Matters
Give the chicken a short rest before slicing it.
Resting is not a way to make undercooked chicken safe. The chicken should already have reached the recommended safe internal temperature.
Instead, resting gives the meat a chance to settle before you cut into it. If you immediately slice a very hot chicken breast, some of its juices can run onto the cutting board rather than staying within the meat.
A few minutes is usually enough.
Do not cover the chicken tightly with foil for a long period because trapped steam can soften the browned exterior.
How to Tell If You Have the Right Texture
When you slice into the thickest part, properly cooked chicken breast should be firm but not hard.
The meat should look opaque throughout rather than raw or translucent.
If the chicken feels unusually stiff and dry, it has probably spent too long over the heat.
If the centre is still undercooked, return the chicken to the pan and continue cooking gently until it reaches the safe internal temperature.
The important lesson is that juicy chicken is not created by leaving it barely cooked. It comes from reaching a safe temperature without significantly overshooting it.
What If the Chicken Is Browning Too Quickly?
This is a common problem when the pan is hotter than necessary.
If the outside is becoming very dark while the centre is still far from cooked, reduce the heat.
You can also add a small splash of water or stock to the pan and cover it briefly to help the centre cook more gently. However, this changes the cooking environment and can soften the crust.
A better approach for next time is to begin with moderate to medium-high heat and adjust it as soon as the chicken develops enough colour.
Dark brown is useful. Burnt spices are not.
What If the Chicken Is Sticking?
Do not immediately try to force the chicken off the pan.
When meat first contacts a hot skillet, its surface can stick temporarily. As browning develops, it often releases more easily.
Give it another minute and test a corner gently with your tongs.
If the chicken is still firmly stuck, check whether there is enough cooking fat in the pan and whether the heat is too low.
A properly heated, lightly oiled skillet usually makes the process easier.
Common Mistakes That Cause Dry Chicken
Starting With Very Thick Chicken
A thick breast can take considerably longer to cook through than a thinner one.
Flatten or butterfly unusually thick pieces so they cook more evenly.
Using High Heat the Entire Time
High heat is useful for developing colour, but keeping the pan extremely hot throughout the entire cooking process can overcook the outside.
Start with enough heat to brown the chicken, then reduce it when necessary.
Cooking by Time Alone
A recipe might say five minutes per side, but chicken breasts are not all the same size.
Treat cooking times as estimates. Use internal temperature as your main safety check.
Crowding the Skillet
If four large chicken breasts barely fit in the pan, cook them in batches.
Crowding reduces direct contact between the chicken and hot pan and can cause moisture to build up.
Cutting the Chicken Immediately
A short rest gives the chicken time to settle before slicing.
If you cut it immediately, you may lose more of the juices onto the plate or cutting board.
Using Too Much Oil
You need enough oil to help the chicken make good contact with the skillet, but the chicken does not need to be swimming in it.
Too much oil can make the surface greasy without improving the crust.
How to Keep the Chicken Juicy When Meal Prepping
If you plan to use the chicken for lunches, salads, sandwiches, or wraps, avoid slicing it immediately after cooking.
Keep the breasts whole until you need them. A whole piece generally retains its texture better than chicken that has already been cut into thin strips.
When reheating, use gentle heat rather than aggressively frying the cooked chicken again.
A microwave can work, but shorter heating intervals are preferable. Covering the chicken loosely can help reduce moisture loss.
If you are reheating several portions, a small amount of sauce, stock, or another suitable moist ingredient can make the chicken more pleasant to eat.
USDA guidance recommends reheating leftovers to 165°F (73.9°C) as well.
Simple Variations
Once you understand the basic method, the seasoning can be changed without changing the cooking technique.
For a lemon-herb version, use lemon zest, black pepper, parsley, and a little lemon juice after cooking.
For a smoky flavour, increase the paprika and add a small amount of ground cumin.
For a garlic-butter version, finish the chicken with butter and fresh minced garlic during the final stage of cooking. Keep the garlic under control because it can burn quickly.
For a spicy version, add chilli flakes or a modest amount of cayenne to the seasoning.
You can also slice the cooked chicken and serve it over rice, pasta, salad, roasted vegetables, or inside a sandwich.
Serving Suggestions
Pan-seared chicken is useful because it works with many different meals.
For a simple dinner, serve it with roasted potatoes and green vegetables.
For a lighter plate, slice the chicken over a crisp salad with tomatoes, cucumber, and a simple dressing.
Rice and steamed vegetables make an easy everyday combination.
You can also turn the chicken into a sandwich by slicing it thinly and adding lettuce, tomato, cucumber, and a sauce of your choice.
If you have browned butter and pan juices left in the skillet, spoon a little over the chicken before serving.
[Image suggestion: Sliced pan-seared chicken breast served with roasted vegetables and potatoes]
Storage and Food Safety
Keep raw chicken separate from foods that will be eaten without cooking. Wash your hands and clean surfaces and utensils that come into contact with raw chicken.
Cook the chicken to at least 165°F (73.9°C) internally using a food thermometer.
For leftovers, refrigerate cooked chicken promptly in a covered container. Keep the refrigerator at 40°F (4°C) or below, and follow local food-safety guidance for how long leftovers should be kept.
When reheating, heat the chicken thoroughly to 165°F (73.9°C).
If you are unsure whether stored chicken has been handled safely, it is better not to take a chance with it.
Frequently Asked Questions
Should I pound chicken breast before pan-searing it?
You do not have to, but it is especially helpful when the breast is very thick or uneven. Making the chicken more uniform helps the centre and thinner areas cook at a more similar rate.
What oil is best for pan-searing chicken?
A neutral cooking oil with a suitable heat tolerance works well. Olive oil is also suitable for this method when the pan is kept at a controlled cooking temperature. The main goal is to prevent the oil from smoking heavily.
Why is my chicken brown outside but raw inside?
The pan was probably too hot for the thickness of the chicken, or the breast was unusually thick. Reduce the heat after browning and continue cooking gently until the thickest part reaches 165°F (73.9°C).
Should I cover chicken breast while pan-searing?
Usually, you can cook it uncovered while developing the crust. If the chicken is very thick and the outside is already well browned, briefly covering the pan can help the centre cook more gently, although the trapped steam can soften the crust.
How do I know when to flip the chicken?
Let the first side cook long enough to develop a browned surface. If the chicken releases relatively easily when you gently test it with tongs, it is usually ready to turn. Avoid flipping repeatedly.
Can I use frozen chicken breasts?
For this particular method, thawed chicken is much easier to cook evenly. Very thick frozen chicken can brown unevenly and make it harder to control the centre temperature. Thaw chicken safely before cooking and avoid leaving it at room temperature for extended periods.
Why does my chicken taste bland even when I season it?
The issue may be uneven seasoning or insufficient browning rather than a lack of seasoning alone. Pat the chicken dry, season both sides evenly, and give the surface enough contact with the hot skillet to develop colour.
Final Thoughts
Juicy pan-seared chicken breast comes down to a few controllable details. Make the thickness reasonably even, dry the surface, use enough heat to brown without burning, and adjust the temperature as the chicken cooks.
Most importantly, use a thermometer rather than guessing when the chicken is safe to eat. Once the thickest part reaches 165°F (73.9°C), let the chicken rest briefly before slicing.
With those habits in place, a basic chicken breast becomes a dependable starting point for salads, sandwiches, rice bowls, pasta dishes, and simple family dinners.
1 thought on “How to Cook a Juicy Pan-Seared Chicken Breast Without Drying It Out?”